How to Avoid Cladding Installation Risks: The Definitive Pillar Guide
The integrity of a building’s exterior envelope is often determined long before the first panel is hoisted into place. In the high-stakes environment of modern architecture, cladding represents more than a decorative skin; it is a complex, multi-layered mechanical assembly tasked with managing thermal transfer, moisture ingress, and structural loads. How to Avoid Cladding Installation Risks. When this system is installed incorrectly, the resulting failures are rarely contained to a single aesthetic flaw. Instead, they manifest as systemic degradations that can compromise the structural substrate, trigger mold growth, and lead to astronomical remediation costs that far exceed the initial capital investment.
Avoiding these pitfalls requires a departure from the “general contractor” mindset in favor of a specialized, forensic approach to building science. The modern facade is a site of constant physical and chemical tension. Different materials—stone, metal, glass, and composites—expand and contract at varying rates, react differently to UV radiation, and can even destroy one another through galvanic corrosion if placed in direct contact. Consequently, the primary challenge for developers and architects is not merely selecting a high-quality material, but ensuring the absolute continuity of the invisible barriers behind that material.
This analysis deconstructs the multifaceted nature of envelope implementation. By examining the technical nuances of moisture management, thermal bridging, and mechanical anchoring, we can establish a rigorous framework for risk mitigation. The goal is to move beyond surface-level checklists toward a deep, systemic understanding of how these assemblies fail and how those failures can be engineered out of the project during the planning and execution phases. The following sections provide the granular detail necessary for the long-term stewardship of high-performance architectural assets.
Understanding “how to avoid cladding installation risks”
At its core, the challenge of how to avoid cladding installation risks is a struggle against the entropy of the construction site. In professional practice, “risk” is often narrowly defined as a visible defect—a cracked stone or a scratched metal panel. However, the most catastrophic risks are those that are “built-in” to the assembly, hidden behind the finished surface. These include discontinuous air barriers, improperly lapped flashing, and the omission of thermal breaks. A truly premium installation is defined not by the perfection of the visible joints, but by the integrity of the invisible layers.
A common misunderstanding in the industry is the reliance on sealants as a primary line of defense. Many installers treat caulking as a “catch-all” solution for poor fitment or inadequate flashing. This represents a fundamental oversimplification of building physics. Sealants have a finite service life—typically 10 to 15 years—whereas the cladding itself may be designed to last for half a century. If the system relies on caulk to stay dry, it is inherently a high-risk system. A risk-averse installation prioritizes mechanical drainage and gravity-fed moisture management over chemical bonds.
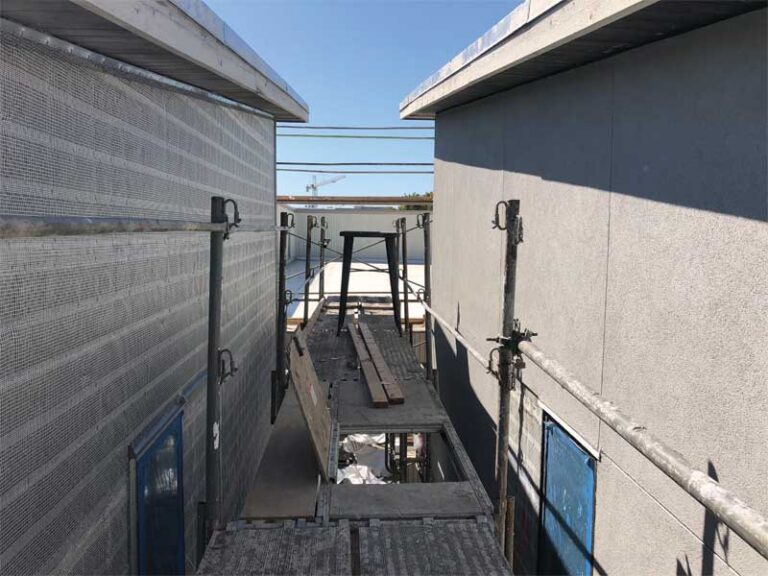
Furthermore, we must address the “Interface Problem.” Most installation failures occur at the transitions: where the wall meets a window, a roofline, or a different cladding material. These nodes are where the continuity of the water-resistive barrier (WRB) is most frequently broken. Understanding how to avoid these implementation risks requires a move toward “Unitized” or “Pre-fabricated” thinking, where complex junctions are engineered and tested in a controlled factory environment rather than being improvised on a scaffold in inclement weather.
The Evolution of the Architectural Skin: A History of Risk
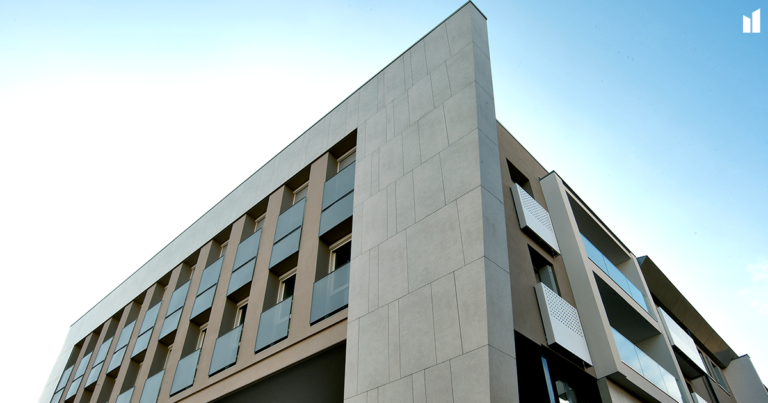
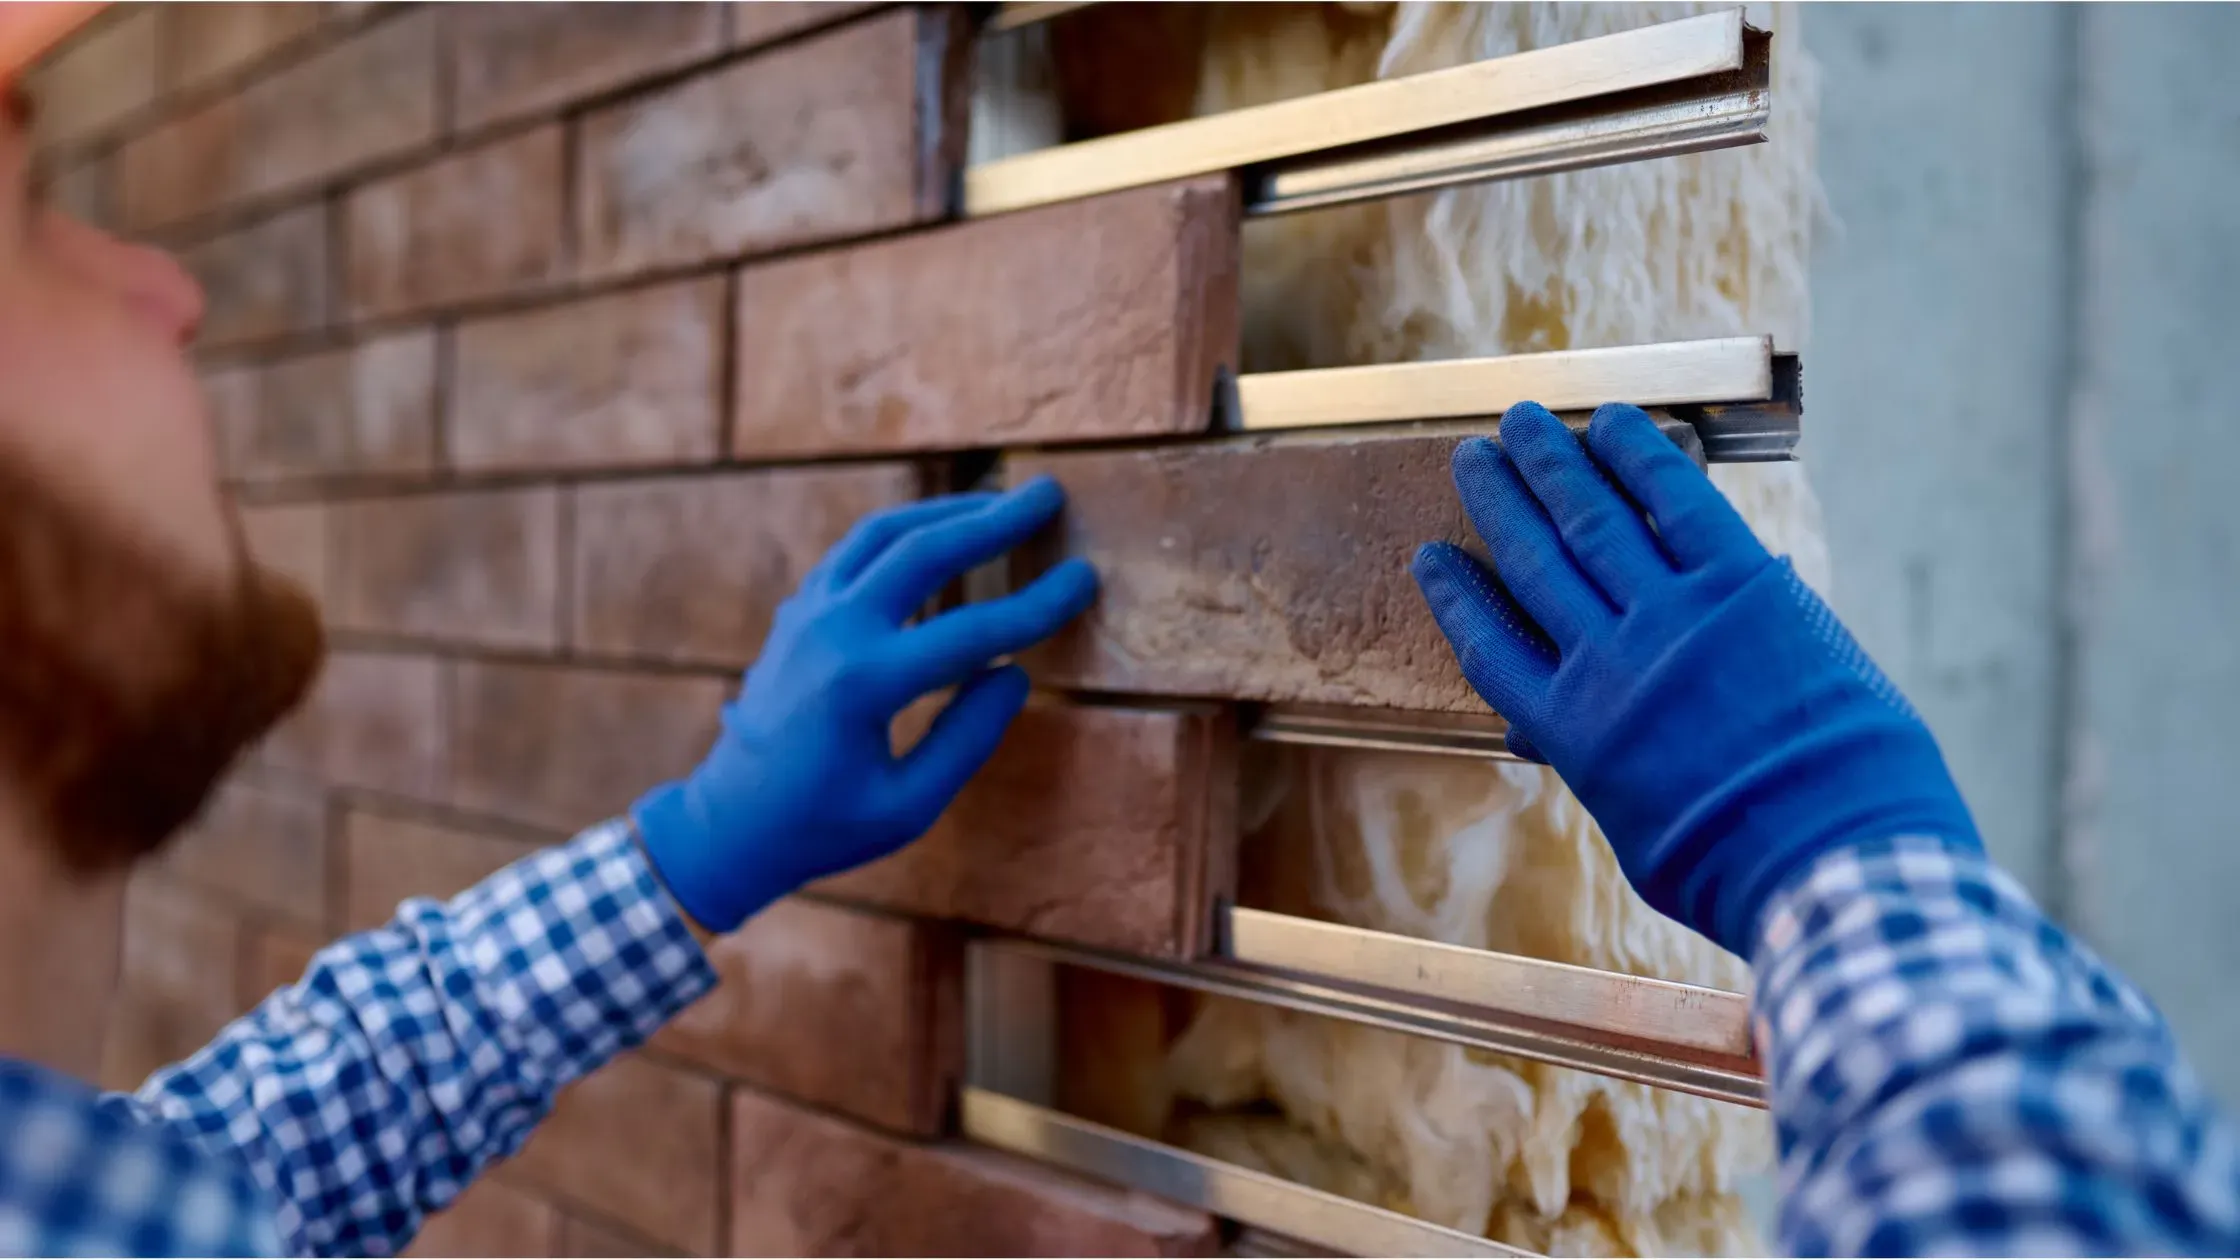
The history of cladding is a transition from “Mass” to “Membrane.” In antiquity, stone and brick were the structure; they were thick enough to absorb moisture and release it slowly without it ever reaching the interior. These walls were robust because they were simple. However, as we moved toward steel and concrete frames, we “unbundled” the wall. We replaced mass with layers: a structural frame, insulation, a weather barrier, and finally, a thin decorative veneer.
This unbundling introduced a new category of risk: “Interstitial Condensation.” Because modern walls are so highly insulated, the temperature difference between the outside and the inside of the wall can be extreme. If warm, moist interior air reaches the cold outer skin, it condenses into water. Without a dedicated drainage cavity, this water rots the building from the inside out. The “Leaky Condo” crises of the late 20th century were a direct result of failing to understand this evolution. Today, avoiding installation risk means embracing the “Rainscreen” principle—accepting that the outer skin will leak and providing a dedicated path for that water to exit.
Conceptual Frameworks and Mental Models
To manage installation quality with editorial rigor, three core mental models should be applied to every project.
1. The Red Line Continuity Test
Imagine a red pen tracing the air barrier on a sectional drawing of the building. If the pen ever has to be lifted—at a window, a floor slab, or a corner—there is a failure in the system. This model forces installers to view the building as a single, unbroken balloon rather than a collection of separate walls.
2. The Gravity-First Logic
Water always follows the path of least resistance, governed by gravity. This framework requires that every layer of the facade “shingles” over the one below it. Any “reverse-lap” (where a lower layer is tucked behind an upper layer) is a guaranteed point of failure. This logic must be applied at the micro-level, even to the smallest pieces of flashing.
3. The Thermal Bridge Mitigation Framework
This model treats heat as a fluid that will “leak” through any conductive material. If a metal bracket passes from the cold exterior through the insulation to the warm interior, it will create a “cold spot” where mold will grow. Risk mitigation requires “Thermal Breaks”—non-conductive spacers that physically decouple the cladding from the building’s skeleton.
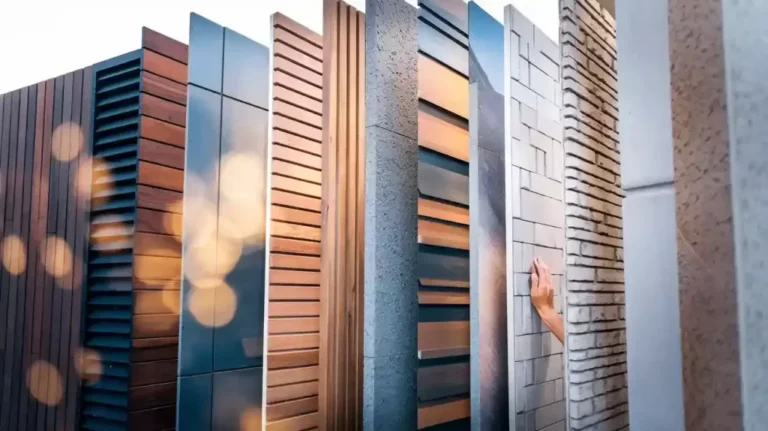
Material Variations and Systemic Trade-offs
The choice of material dictates the specific risk profile of the installation. A system that works for terra cotta may be entirely inappropriate for metal composite panels.
| System Type | Primary Installation Risk | Mitigation Strategy |
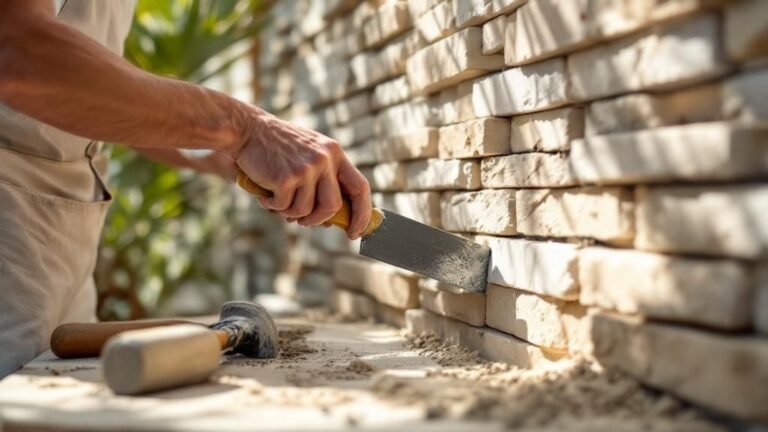
| Natural Stone | Dead-load failure; anchor corrosion. | Use Grade 316 stainless anchors; verify substrate capacity. |
| Sintered Stone | Impact cracking; edge chipping. | Utilize specialized suction-cup handling; ensure flat substrate. |
| Metal (MCM) | “Oil-canning” (warping); expansion noise. | Use sliding clips to allow for thermal movement. |
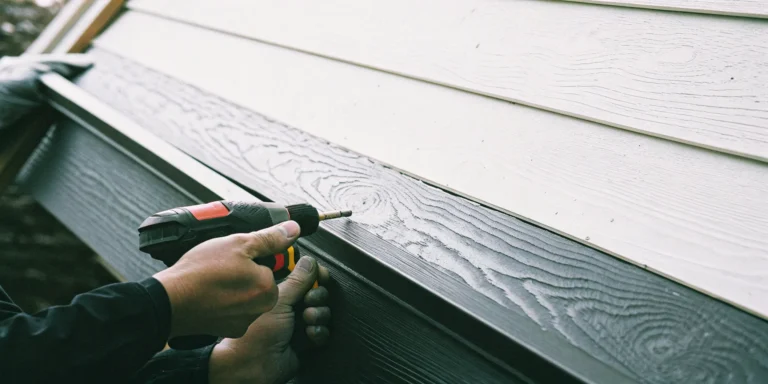
| Fiber Cement | Moisture absorption at cut edges. | Seal all field-cuts immediately; maintain 2-inch clearance from grade. |
| Terra Cotta | Fragility during handling; joint misalignment. | Use laser-leveling for all rail systems; dry-fit corners. |
| UHPC Panels | Improper fastener torque leading to cracks. | Use calibrated torque wrenches; avoid rigid fixing. |
Realistic Decision Logic
The decision on which system to use should be weighted by the “Skill Ceiling” of the available labor. If the local workforce is unfamiliar with complex rainscreen hardware, a simpler “Face-Sealed” system might actually carry less risk, provided it is designed with a high degree of redundancy. Forcing a sophisticated system on an inexperienced crew is one of the highest-order risks in modern construction.
Detailed Real-World Scenarios How to Avoid Cladding Installation Risks
Scenario A: The High-Wind Coastal High-Rise
In this environment, the primary risk is “Wind-Uplift.” Negative pressure can literally suck panels off the building. To avoid this, installers must utilize “Pressure-Equalized” systems. By allowing air into the cavity behind the panels, the pressure inside matches the pressure outside, neutralizing the force that would otherwise dislodge the cladding.
Scenario B: The Alpine Freeze-Thaw Cycle
Water expands when it freezes. If stone panels are installed with “tight joints” (no gaps), the moisture trapped in the stone or the joints will freeze and crack the panels. The decision point here is the width of the “Expansion Joint.” A risk-averse plan assumes maximum thermal expansion and provides a 10mm to 12mm gap filled with high-movement silicone or left open as a rainscreen joint.
Scenario C: The Urban Retrofit
When cladding an old building, the “As-Built” conditions are never square or plumb. If the installer assumes the wall is flat, the cladding will be wavy and joints will fail to align. The strategy here is “Laser Mapping.” By scanning the building first, the sub-frame can be shimmed and adjusted to create a perfectly flat “secondary grid” for the cladding.
Planning, Cost, and Resource Dynamics
The economics of risk mitigation are often counter-intuitive. The “cheapest” installation method often results in the highest “Total Cost of Ownership.”
| Cost Category | Impact on Risk | Variability Factors |
| Pre-Installation Mock-ups | High Reduction | Labor familiarity; material compatibility testing. |
| Specialized Hardware | Medium Reduction | Corrosion resistance; load-bearing capacity. |
| Third-Party Inspection | Extreme Reduction | Objectivity; specialized forensic knowledge. |
| Logistics & Protection | Low Reduction | On-site breakage; weather-related delays. |
Range-Based Planning Table (per sq. ft.)
-
Basic Implementation: $15 – $30 (High risk of secondary failure).
-
Engineered Implementation: $45 – $80 (Incorporates thermal breaks and drainage planes).
-
Premium Specialized: $120+ (Unitized systems with 30-year performance bonds).
The Opportunity Cost of Speed: Accelerating a facade schedule usually means overlapping the “Wet Trades” (concrete, masonry) with the “Dry Trades” (cladding, insulation). This often results in moisture being trapped inside the wall before the skin is sealed, leading to permanent efflorescence and rot.
Tools, Strategies, and Support Systems
To successfully manage implementation, the following strategies are essential:
-
3D Laser Scanning: Creating a “Digital Twin” of the substrate to identify deviations before fabrication.
-
On-Site Pull-Out Testing: Verifying that the anchors can actually hold the weight in the specific concrete or steel of the building.
-
Moisture Content Probes: Ensuring the substrate is dry (typically <19%) before the water-resistive barrier is applied.
-
Substrate Flattening Rails: Using adjustable aluminum sub-girts to compensate for structural irregularities.
-
Electronic Leak Detection (ELD): Utilizing conductive tapes behind the WRB to detect microscopic leaks after the cladding is installed.
-
BIM-to-Field Workflows: Ensuring that the precise panelization designed in the model is exactly what is executed on the scaffold.
Risk Landscape and Failure Modes
Risk in cladding is rarely a single event; it is a “Compounding Failure.”
-
Galvanic Corrosion: An aluminum rail is fastened with a zinc-plated screw. In a moist environment, the zinc vanishes, the screw rusts, and the rail falls off.
-
Thermal Shock: Dark panels are installed without enough expansion room. In the summer sun, they expand, hit each other, and buckle or crack.
-
Vapor Trapping: A vapor-impermeable barrier is placed on the “cold side” of the insulation, causing the wall cavity to stay perpetually damp.
-
Sealant Smearing: Applying silicone to porous stone without primer, leading to “oil-bleeding” that can never be cleaned off.
Governance, Maintenance, and Long-Term Adaptation
A successful installation includes a “Governance Plan” for the next 20 years.
-
The 12-Month Audit: Checking for “settlement cracks” after the building has gone through one full cycle of seasons.
-
Weep Hole Verification: Ensuring that installers didn’t accidentally plug the drainage holes with mortar or sealant.
-
Gasket Inspection: In dry-glazed systems, checking that the rubber gaskets haven’t “crept” or shrunk in the sun.
-
Documentation: Keeping a “Panel Map” so that if one panel breaks in ten years, the exact batch and color can be ordered for replacement.
Measurement, Tracking, and Evaluation
How do we prove an installation is “Risk-Averse”?
-
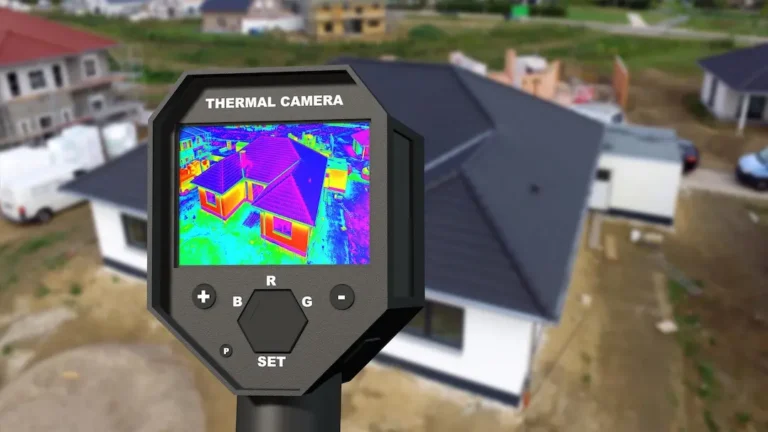
Quantitative Metrics: R-value retention (using thermal cameras); Air-infiltration rates (Blower Door testing).
-
Qualitative Signals: Absence of “creaking” during wind events; lack of salt-staining (efflorescence) at the base of the wall.
-
Documentation Examples: “Photo-Log” of every window flashing before it was covered by the cladding; Torque-spec logs for every structural bolt.
Common Misconceptions and Oversimplifications
-
Myth: “Waterproof cladding keeps the building dry.” Correction: No cladding is waterproof; the WRB behind the cladding keeps the building dry.
-
Myth: “More caulk is better.” Correction: Over-caulking can trap water inside the wall, causing more damage than a leak.
-
Myth: “Warranties protect the owner.” Correction: Most material warranties are void if the installation instructions were not followed to the letter—and instructions are often contradictory.
-
Myth: “All rainscreens are the same.” Correction: A “Drained and Back-Ventilated” system is significantly different from a “Pressure-Equalized” system in terms of engineering and cost.
Synthesis: The Future of Resilient Facades
The ultimate goal of knowing how to avoid cladding installation risks is to achieve “Architectural Permanence.” As building codes become more rigorous and climate patterns shift, the margin for error in the building envelope is shrinking. The future of the industry lies in “Passive Durability”—systems that do not rely on the perfect application of a chemical sealant or the flawless memory of a tired installer.
By embracing factory-controlled unitization, electronic monitoring, and a “gravity-first” design philosophy, we can move away from the crisis-remediation cycle of the past. A successful facade is one that performs its duties silently, managing the invisible flows of heat and water without ever requiring the owner to look behind the curtain. In the end, the most luxurious feature of any building is the peace of mind that comes from a perfectly executed, risk-managed envelope.