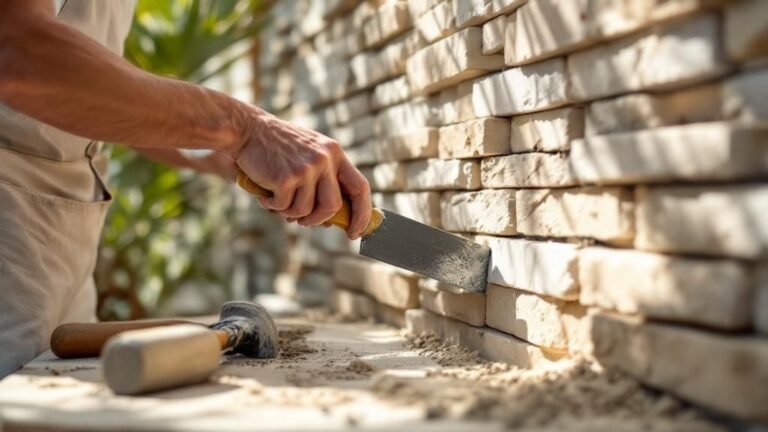
How to Avoid Moisture Trapped Behind Cladding: A Guide to Rainscreens
The architectural envelope is a site of constant thermodynamic negotiation. While the primary function of cladding—be it stone, metal, or fiber cement—is to defend the structural core from the elements, the very act of enclosing a building introduces the risk of interstitial condensation and trapped liquid water. How to Avoid Moisture Trapped Behind Cladding. In the modern era of high-performance, airtight construction, the failure to manage moisture behind the facade is not merely a cosmetic issue; it is a systemic threat to the longevity of the building’s skeleton and the health of its occupants.
Managing the environment behind the cladding requires a departure from the “barrier” mindset that dominated 20th-century construction. We no longer assume that a building can be made perfectly waterproof. Instead, contemporary building science operates on the principle of redundancy and drying capacity. The goal is to create an assembly that is “hygrothermally resilient”—one that can withstand accidental moisture intrusion through rapid drainage and vapor diffusion.
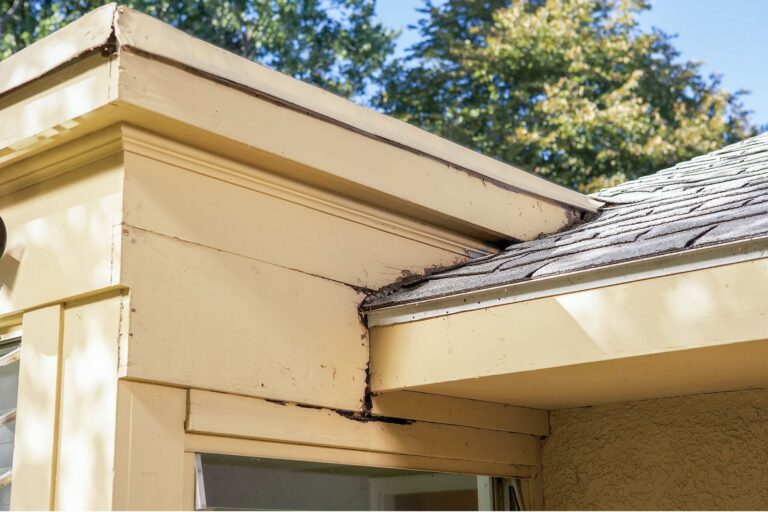
When water is held in a state of stasis against a substrate, it initiates a series of irreversible chemical and biological reactions. Wood rots, steel corrodes, and masonry experiences efflorescence and spalling. To navigate these complexities, architects and developers must understand the physics of vapor pressure, the capillary action of porous materials, and the critical role of the ventilation cavity. This analysis serves as a definitive technical reference for the strategies required to maintain a dry, durable interface between the cladding and the wall.
Understanding “how to avoid moisture trapped behind cladding”
To effectively master how to avoid moisture trapped behind cladding, one must first accept the “permeability paradox.” A common misunderstanding in the construction industry is that the tighter and more “waterproof” the exterior skin, the safer the building. In reality, an overly restrictive exterior can act as a vapor trap, preventing moisture that originates from the interior (through cooking, breathing, or humidification) from escaping. The “plan” is therefore not about sealing, but about channeling.
Oversimplification poses the greatest risk in this domain. Many stakeholders focus on the “Weather Resistive Barrier” (WRB) as a singular shield, yet a WRB is only as effective as the air space in front of it. If the cladding is installed “tight” against the barrier, capillary action can pull water through staple holes or lap joints. To truly understand how to avoid moisture trapped behind cladding, the practitioner must evaluate the “drying potential” of the assembly—a calculation of how much water can be removed through ventilation versus how much is likely to enter through wind-driven rain or vapor drive.
Furthermore, the management of moisture is a directional challenge. In cold climates, vapor drives from the warm interior toward the cold exterior. In hot, humid climates, the drive is reversed. A strategy that works in Minnesota—placing a vapor retarder on the interior side of the studs—would be a recipe for disaster in Florida, where it would trap humid exterior air against the cold, air-conditioned interior drywall. Identifying the “best” path requires a climate-specific analysis of vapor pressure gradients.
Historical Context: From Mass Walls to Managed Cavities
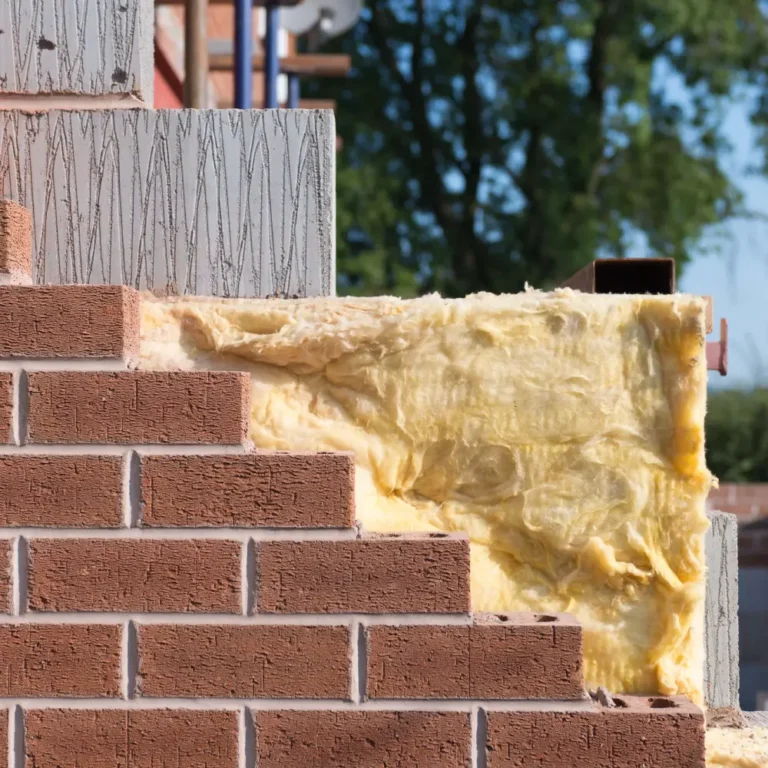
Historically, buildings utilized “mass walls”—thick layers of stone, brick, or adobe. These walls were “hygroscopic,” meaning they could absorb significant amounts of water during a storm and then slowly release it back to the atmosphere when the sun emerged. There was no “behind the cladding” because the cladding was the structure. While effective, these buildings were thermally inefficient and limited in height.
The shift toward “stick-frame” and steel-skeleton construction necessitated a thinner skin. Early 20th-century veneers were often attached directly to the sheathing with a simple layer of tar paper. As insulation levels increased, the walls became “colder” because heat from the interior no longer escaped to dry the exterior sheathing. This led to the “sick building” syndromes of the 1980s and 90s, where moisture trapped behind cladding caused catastrophic rot in thousands of homes. This era birthed the modern “Rainscreen” principle: the realization that an air gap is the most powerful tool in the architect’s arsenal for moisture control.
Conceptual Frameworks and Mental Models
To predict and prevent moisture accumulation, professional editors and engineers use several core mental models.
1. The Four Layers of Defense
This framework prioritizes the management of moisture in order of volume:
-
The Water Deflector: The cladding itself (sheds 95% of water).
-
The Drainage Plane: The air gap (manages the 5% that gets behind the stone or wood).
-
The Water Barrier: The WRB (protects the structural sheathing).
-
The Vapor Retarder: Manages molecular-level moisture movement.
2. The Capillary Break Logic
Water can “climb” through tight spaces due to surface tension. The mental model here is “The Air Gap as a Barrier.” By introducing a gap of at least 1/8 inch (3mm), you break the surface tension, forcing water to drop down the back of the cladding rather than being sucked into the wall.
3. The Solar Vapor Drive Paradox
When the sun hits a wet, porous cladding (like brick or stone), it heats the trapped water, turning it into vapor. This vapor is then pushed inward toward the air-conditioned interior. A high-end plan must account for this “inward drive” by ensuring the WRB is vapor-permeable enough to let the wall dry, but robust enough to stop liquid ingress.
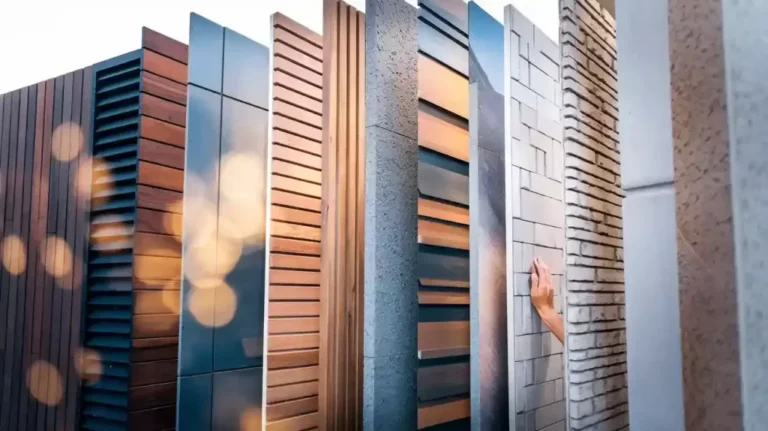
Cladding Variations and Moisture Profiles
Different materials dictate different drainage requirements.
1. Reservoir Claddings (Brick, Stone, Stucco)
These materials hold water like a sponge.
-
The Strategy: They require a wider drainage cavity (typically 1 inch or 25mm) to ensure the high volume of absorbed water doesn’t bridge across to the substrate.
2. Non-Reservoir Claddings (Metal, Vinyl, Sintered Stone)
These do not absorb water but can experience high levels of condensation on their back surfaces.
-
The Strategy: A smaller 1/4 inch gap is often sufficient, provided there is clear intake and exhaust for airflow.
3. Wood and Fiber Cement
Organic or semi-organic materials that can swell or rot.
-
The Strategy: These must be “back-primed” (sealed on all six sides) to prevent the material itself from becoming a moisture reservoir.
Comparison Table: Drainage Requirements
| Cladding Material | Porosity | Cavity Width (Min) | Primary Risk |
| Natural Stone | High | 1.0″ (25mm) | Efflorescence/Rot |
| Stucco/EIFS | High | 0.5″ (12mm) | Substrate degradation |
| Metal Panel | Zero | 0.25″ (6mm) | Back-side corrosion |
| Fiber Cement | Med | 0.375″ (10mm) | Delamination/Swell |
Real-World Implementation Scenarios How to Avoid Moisture Trapped Behind Cladding
Scenario 1: The Pacific Northwest (High Rainfall)
In a “rain-dominant” climate, the strategy must prioritize drainage.
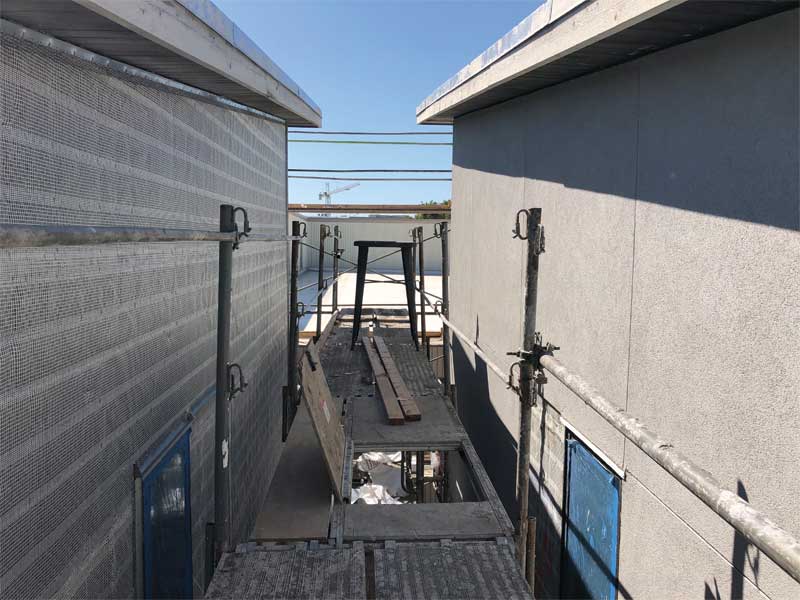
-
Implementation: A “pressure-equalized rainscreen.” By venting the cavity at both top and bottom, the air pressure behind the cladding matches the pressure outside, preventing wind from “pushing” rain into the wall.
-
Result: Even if the cladding leaks, the water has no “force” to move it into the structure.
Scenario 2: The Hot-Humid Coastal South
Here, the risk is exterior humidity being pushed into the cool wall.
-
Implementation: A vapor-impermeable WRB on the outside of the sheathing, but a well-ventilated cladding cavity to allow the “solar drive” to escape outward rather than inward.
Scenario 3: The Retrofit of a Masonry Building
Adding insulation to the inside of an old brick building.
-
The Failure Mode: The brick now stays colder and wetter because it no longer receives heat from the interior.
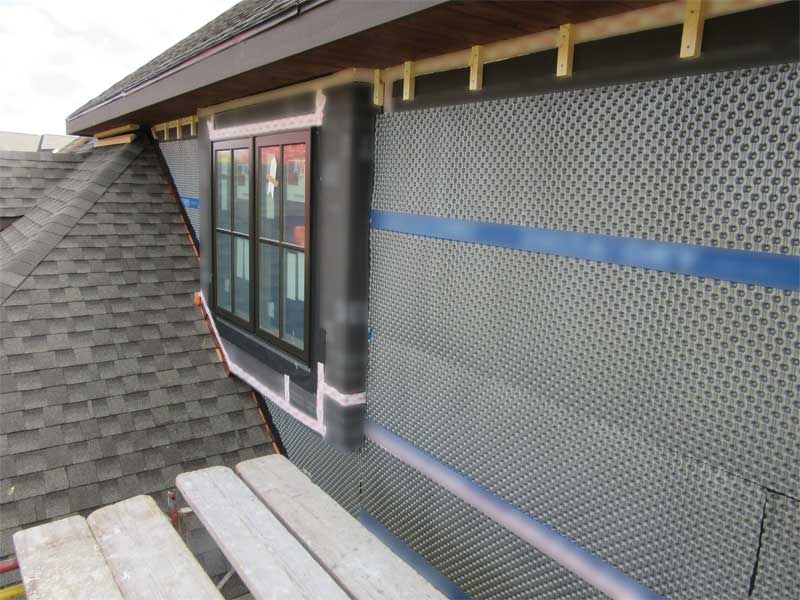
-
The Fix: Installing a “drainage mat” between the brick and the new insulation to ensure liquid water can escape.
Economic Dynamics and Resource Planning
The “cost” of avoiding moisture is significantly lower than the cost of remediation.
Indirect and Opportunity Costs
If a commercial building develops mold, the opportunity cost includes:
-
Tenant Displacement: Loss of rent during remediation.
-
Litigation: Legal fees associated with “unhealthy building” claims.
-
Structural Devaluation: A “noted” moisture issue on a building’s record can reduce its market value by 20% or more.
Range-Based Table: System Investment
| Component | Cost per sq ft | Life Expectancy | Impact on Moisture |
| Fluid-Applied WRB | $2.50 – $4.50 | 50+ Years | Excellent |
| Plastic Drainage Mat | $0.80 – $1.50 | 30+ Years | Good (Mid-tier) |
| Timber Furring Strips | $0.50 – $1.00 | 15-20 Years | Risk of rot |
| Stainless Steel Rails | $3.00 – $6.00 | 75+ Years | Excellent |
Support Systems, Strategies, and Tools
Professional moisture management relies on several critical technologies:
-
Ventilated Starter Tracks: Perforated metal strips at the base of the wall that allow water to exit but keep insects out.
-
Intumescent Cavity Barriers: Essential for fire safety in ventilated facades; these “swell” in heat to close the gap and stop fire spread.
-
Moisture Meters (Protimeters): Used during construction to ensure the sheathing is below 19% moisture content before cladding is applied.
-
Blower Door Testing: Verifies the airtightness of the WRB, ensuring that humid air isn’t leaking into the wall through cracks.
-
Drainage Spacers: Small polymer “dots” or strips that ensure the cladding cannot be fastened too tightly against the wall.
The Risk Landscape: Taxonomy of Failure
-
The “Reverse Flashing” Error: Where the WRB is tucked behind the window flashing rather than over it, directing water into the wall.
-
Clogged Weep Holes: In masonry, mortar “droppings” often fall into the cavity, blocking the drainage path and creating a ponding effect.
-
The “Vapor Bridge”: Using a non-permeable adhesive to spot-bond stone cladding, which traps “bubbles” of moisture that eventually freeze and pop the stone off.
-
Incompatible Membranes: Using a silicone-based sealant on a bitumen-based WRB, leading to chemical degradation and leaks.
Governance, Maintenance, and Long-Term Stewardship
-
The 10-Year Audit: A professional inspection of the “exhaust” vents at the top of the wall (soffit area) to ensure they haven’t been painted over or blocked by nests.
-
Vegetation Control: Ensuring that landscaping (bushes, vines) is at least 12 inches away from the base of the cladding to allow for airflow into the “intake” vents.
-
Adjustment Triggers: If interior humidity levels consistently rise above 55% in winter, it triggers a “hygrothermal audit” to check if the wall is successfully shedding vapor.
Evaluation Metrics and Documentation
A building’s success is measured by its “Drying Rate” versus its “Wetting Rate.”
-
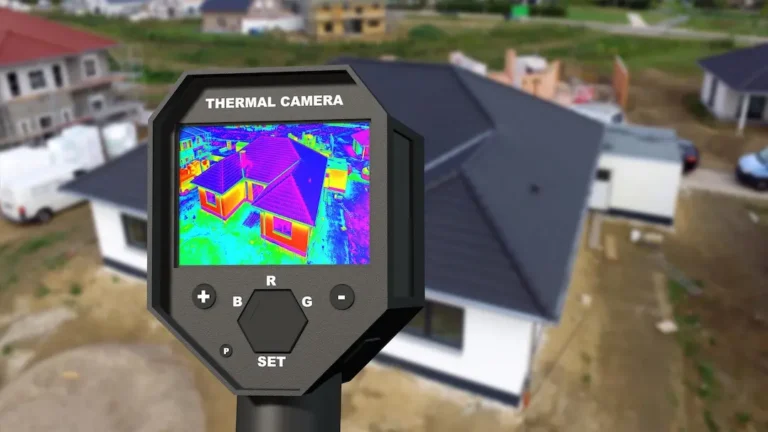
Quantitative: Sensors (hygrometers) embedded in the sheathing can provide real-time data on the “Relative Humidity” (RH) behind the cladding.
-
Qualitative: Looking for “ghosting” or dark patches on the cladding after a rainstorm, which indicates where the cavity is failing to dry.
-
Documentation: The “Building Enclosure Commissioning” (BECx) report, which serves as the birth certificate for the wall’s moisture management system.
Common Misconceptions and Industry Myths
-
Myth: “Tyvek is all you need.” Correction: A housewrap is only a barrier; without a drainage gap (furring), it cannot manage liquid water effectively.
-
Myth: “Caulking every joint makes the building safer.” Correction: Over-caulking can trap water. Many joints should be left “open” to allow for drainage and pressure equalization.
-
Myth: “Vinyl siding is waterproof.” Correction: Vinyl is a “water-shedding” cladding that is designed to leak; the real waterproofing is the barrier behind it.
Conclusion
Mastering how to avoid moisture trapped behind cladding is the defining challenge of modern architecture. It requires a shift from viewing the wall as a static object to seeing it as a dynamic, breathing system. By respecting the laws of thermodynamics—acknowledging that water will enter and ensuring it has a clear, ventilated path to exit—the architect secures the building’s future. Resilience is found not in the strength of the seal, but in the efficiency of the escape route. A dry wall is a durable wall, and a durable wall is the only true foundation for architectural authority.